Modern apparel sizing usually reduces body data to five core dimensions: weight, height, chest, waist, and hip. Taking those measurements precisely gives you a more reliable starting point, but the right fit also depends on the garment, fabric, cut, and intended ease.
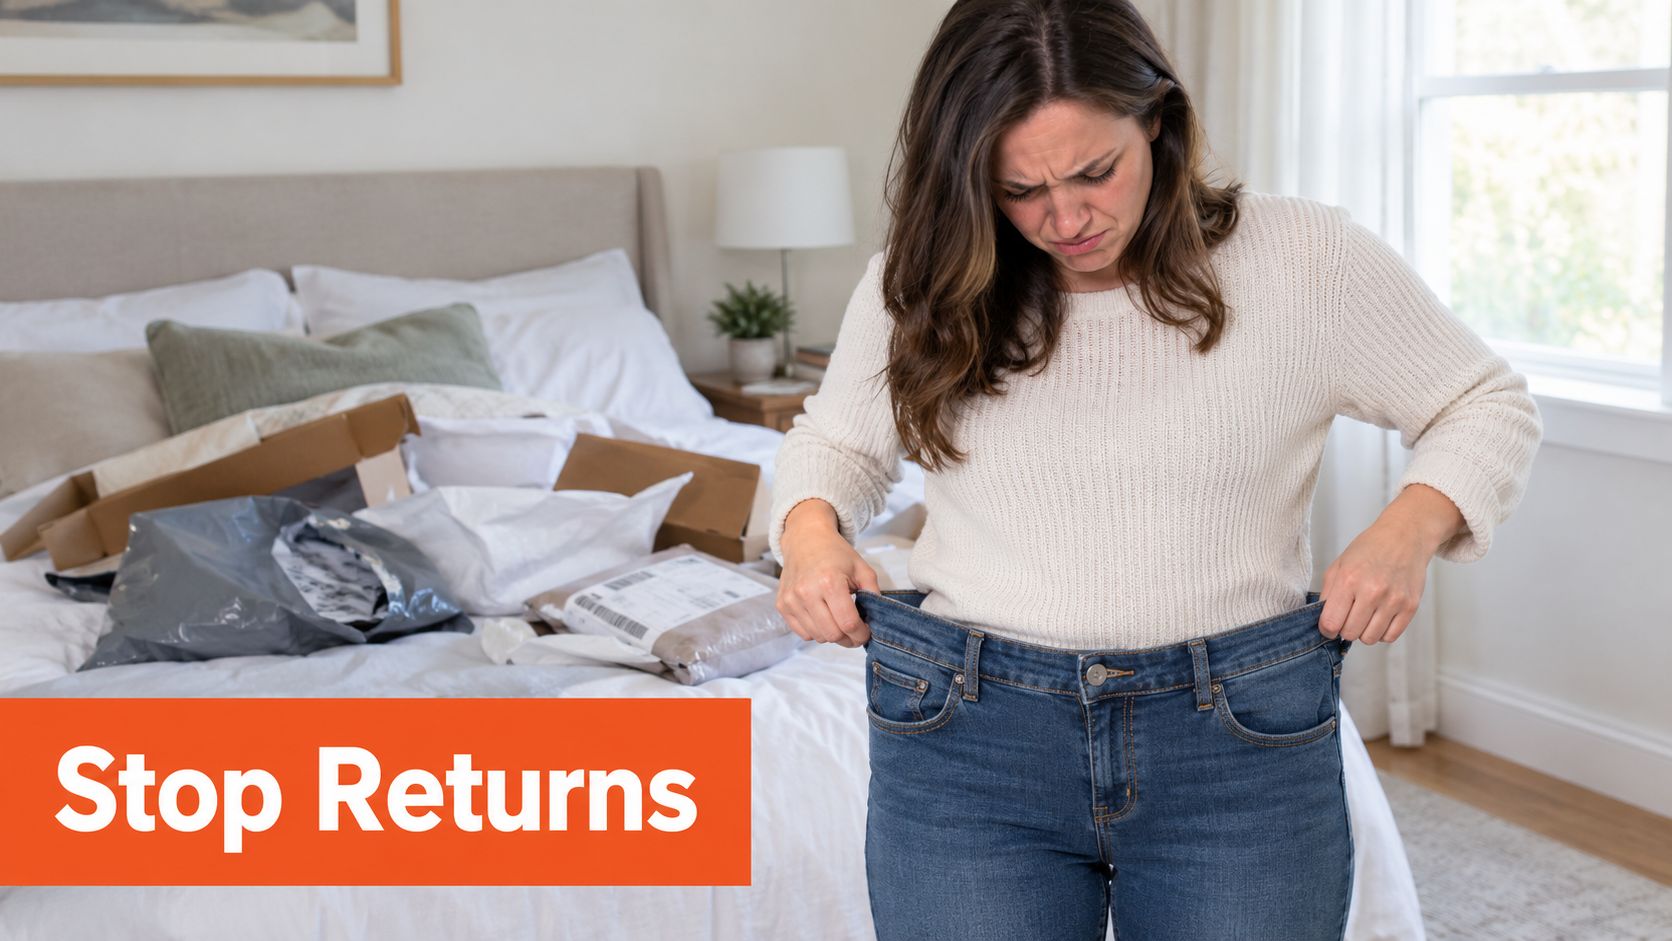
You've checked the size chart twice, selected the size that matches your usual label, and placed the order. When the parcel arrives, the jeans pull across the hips, the shirt strains at the chest, or the trousers sit several centimeters too low. The return process begins, even though the problem may not be the chart alone. A body measurement becomes useful only when you understand how it relates to the specific garment you're buying.
Table of Contents
- Why Accurate Body Measurements Matter for Online Shopping
- Preparing for the Perfect Measurement Session
- Mastering Core Measurements, Chest, Waist, and Hips
- Advanced Measurements, Inseam and Sleeve Length
- Common Mistakes to Avoid for Better Fit
- From Manual Tape to Smart Sizing Solutions
- Putting It All Together for Confident Purchases
Why Accurate Body Measurements Matter for Online Shopping
Online shopping removes the fitting room, so your measurements have to do more work. A size label is only a shorthand, and brands can build different garments around the same nominal size. A close measurement can help you compare your body with a chart, but it can't tell you whether a rigid denim waistband, a relaxed linen shirt, or a fitted stretch dress will feel comfortable.
A useful way to think about sizing is to separate measurement from interpretation. Modern apparel systems often compress many possible body dimensions into five foundational inputs, weight, height, chest, waist, and hip, according to the historical and technical overview of apparel sizing from the Journal of the Royal Statistical Society. Those inputs can guide a recommendation, but the garment's design still determines how much room you need.
Match the measurement to the garment
For a fitted blouse, chest or bust may control the purchase more than waist. For trousers, waist, hip, rise, and inseam can all affect comfort and silhouette. For a jacket, shoulder width and sleeve length may matter more than a general body-size label. This is why a shopper can match one chart accurately and still receive a poor fit.
Before ordering, identify the garment's controlling points:
- Trousers: Compare waist, hip, rise information, and inseam where available.
- Shirts and dresses: Check chest or bust first, then waist and garment length.
- Fitted jackets: Pay close attention to chest, shoulder, sleeve, and back dimensions.
- Stretch garments: Consider how the fabric is intended to sit, not only the unstretched chart.
Retailers also benefit from explaining this logic clearly. A practical resource on steps for selling clothing can help sellers connect product information with customer expectations, and that same principle helps shoppers read size guidance more intelligently.
Preparing for the Perfect Measurement Session
Accuracy starts before the tape touches your body. Use a flexible cloth tape measure, a pen, and a note on your phone or paper. A rigid ruler won't follow body contours, while a stretched or damaged tape can create misleading readings.
Wear close-fitting clothing or measure on bare skin. Expert apparel guidance recommends avoiding shoes, keeping the tape in contact with the body, and choosing clothing that doesn't add bulk, as explained by Müller & Sohn's measurement instructions. Padded bras, heavy knitwear, and shaping garments can change the points you're trying to record.
Set your posture before measuring
Stand naturally on a flat surface with your feet positioned comfortably. Keep your arms relaxed, breathe normally, and don't pull your stomach in or push your chest forward. Avoid using a mirror if it causes you to correct your posture, because a deliberately altered stance won't represent how clothing sits during ordinary wear.
A helper makes the process easier, especially for the back, inseam, and sleeve. If you're measuring alone, use a phone camera or place a small clip on the tape to mark a point, but don't twist your torso to see the result.
Practical rule: Take measurements in the same posture and clothing conditions each time. Consistency is more useful than chasing a reading that looks unusually small.
Keep horizontal tapes level with the floor. The tape should be snug but not tight, with enough contact to avoid slipping and without compressing soft tissue. Record the measurement immediately, including whether you used inches or centimeters. Mixing units or relying on memory creates avoidable errors when you compare several product charts.
Mastering Core Measurements, Chest, Waist, and Hips
Chest, waist, and hip measurements are the most familiar starting points because they describe the main circumference points used in everyday apparel sizing. They're also easy to distort if the tape slopes, twists, or presses into the body.
Chest or bust
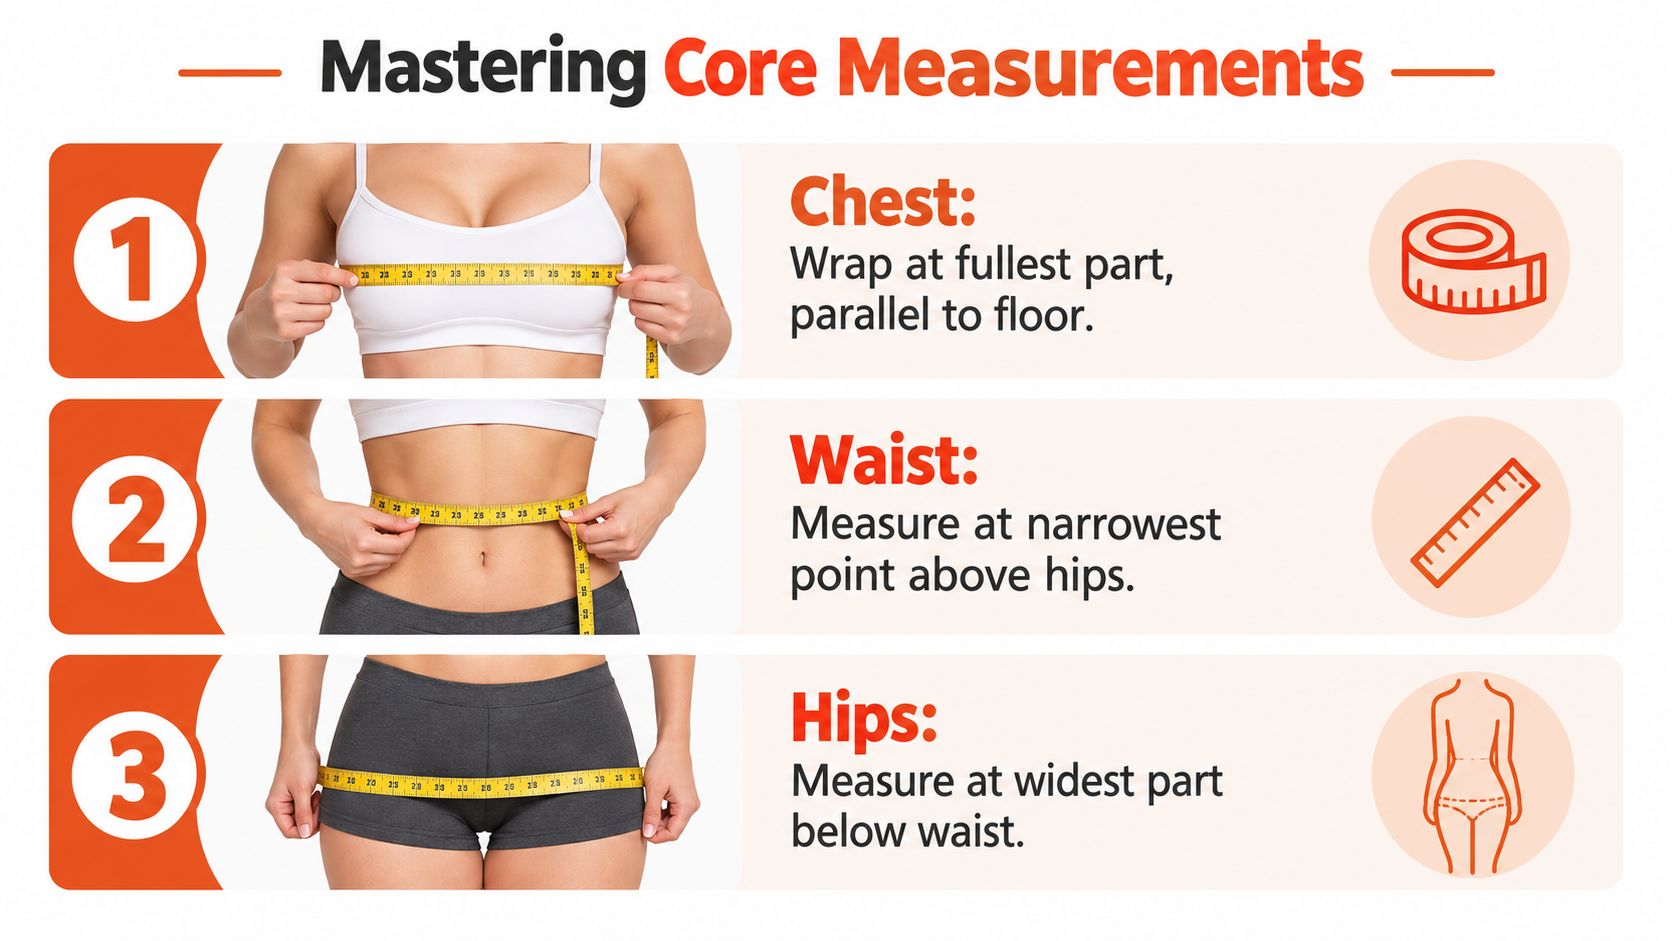
Wrap the tape around the fullest part of the chest or bust. Keep it parallel to the floor and make sure it passes evenly around the back. Let your arms rest naturally rather than lifting them, and breathe normally while the reading is taken.
The tape should touch the body without digging in. If you're measuring for a structured top, jacket, or dress, use the result alongside the brand's garment measurements and notes about fit. A chest measurement alone can't account for shoulder construction, darts, lining, or the amount of ease designed into the piece.
Natural waist
Find the narrowest part of your torso, usually above the hips and often near the navel area. Wrap the tape around this point while standing relaxed. Don't pull your stomach in, and don't tighten the tape to create a smaller number.
The correct waist point depends on the garment. High-rise trousers may sit near the natural waist, while low-rise styles sit below it. If the product page specifies a different waistband position, measure at that position as well, because the location of the garment changes the relevant circumference.
Hips
Measure around the fullest part of the hips and buttocks. Check that the tape remains level from front to back, since it often rises at the back when someone measures themselves. Keep your feet together if that reflects the brand's instructions, and stand naturally without shifting your weight to one side.
A measurement is only useful when it describes the place where the garment will sit.
Take each circumference carefully and write down the result. Apparel research has shown that detailed sizing can involve far more body points than these three, while retail systems commonly reduce that complexity into a smaller set of dimensions, as summarized in Fit Analytics' sizing history. Use the core numbers for ordinary shopping, but expect custom-fitted or highly structured clothing to require additional information.
Advanced Measurements, Inseam and Sleeve Length
A pair of trousers can fit around the waist and hips yet still look wrong because the inseam is unsuitable. Sleeves create the same problem. A shirt may fit the chest but finish above the wrist, or a jacket sleeve may cover too much of the hand.
Measure the inseam with a reference garment
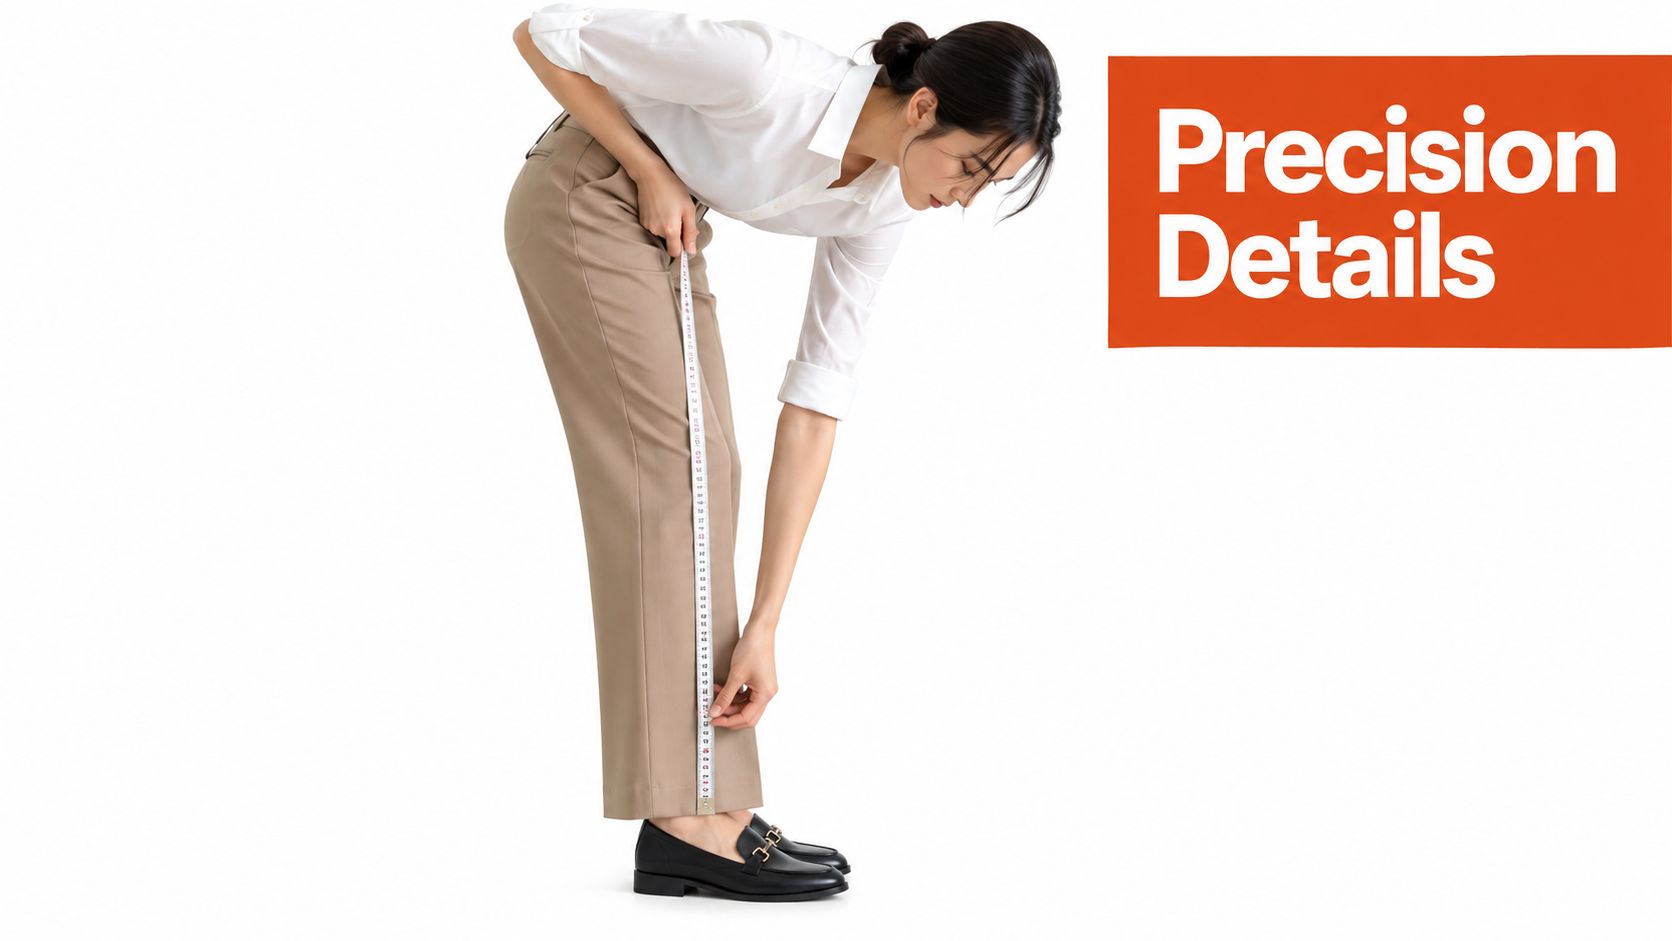
For the body method, stand naturally and measure from the crotch point down the inside of the leg to the place where you want the trouser hem to finish. Keep the tape following the inside leg without pulling it sharply. A helper is valuable here because bending or twisting changes the starting point.
You can also measure a pair of trousers that already fits well. Lay the garment flat, measure from the crotch seam along the inside leg to the hem, and compare that figure with the product's inseam. This approach is often more practical for online shopping because it captures the length you already know works with your shoes and preferred break.
Check sleeve length from the shoulder
Place the tape at the shoulder point where a sleeve seam would naturally sit and follow the arm to the wrist bone. Keep the arm relaxed, with a slight bend if that matches the brand's instructions. A completely rigid arm can create an unnatural result, while a heavily bent elbow shortens the reading.
For shirts, compare sleeve length with cuff placement and shoulder construction. Raglan sleeves, dropped shoulders, and oversized cuts don't use the same reference point as a classic set-in sleeve. The measurement should support the garment's construction rather than override it.
Use a camera or helper to check the tape's path. Hard-to-reach measurements are poor candidates for hurried self-measuring.
Common Mistakes to Avoid for Better Fit
Most measurement failures come from technique, not from the tape itself. A tape placed too high on one side, pulled tighter at the front, or allowed to slope across the back can change the result enough to move you into a different size category.
An apparel study summary links incorrect tape placement, uneven readings, and inconsistent tension with poor garment fit, while expert practice recommends repeating measurements and averaging them, as documented in this apparel measurement study. The correction is simple, but it requires discipline.
Audit the process, not just the number
Check these points before using your measurements:
- Tape angle: Look for a level line around the body. A rising or falling tape changes the circumference.
- Tension: Keep the tape lightly snug. Pulling it tight compresses the body, while leaving it loose adds space.
- Landmark position: Identify the fullest bust or hip point and the narrowest waist point consistently.
- Posture: Stand normally. Don't hold your breath, arch your back, or shift your weight.
- Repeatability: Measure every dimension twice and average the readings if they differ.
The same logic applies when checking trouser fit. A waist figure can't tell you whether the rise feels comfortable or whether the leg reaches the intended hem. Use this practical guide on finding your pant size to connect body information with the specific trouser measurements that influence fit.
From Manual Tape to Smart Sizing Solutions
The cloth tape remains useful because it's inexpensive, portable, and transparent. You can see exactly where the measurement came from, repeat it, and use it across different brands. Its weakness is that the result depends on posture, tape placement, tension, and the shopper's ability to reach or see the relevant body point.
A helper improves the process, but many shoppers buy from a phone while traveling, have limited mobility, or need to assess garments without taking a long series of measurements. Manual data also stops short of answering the most important shopping question: which size should I choose for this garment?
Compare the methods
| Method | What works well | Where it falls short |
|---|---|---|
| Cloth tape | Low cost, repeatable, easy to understand | Relies on technique and often a helper |
| 3D body scanning | Captures body shape with limited manual input | Requires compatible equipment or software |
| Mobile body modeling | Fits phone-first shopping and can reduce measurement friction | Results depend on the quality of inputs and modeling |
| AI virtual fitting | Connects shopper information with a garment-specific preview | It still depends on accurate product data and realistic garment rendering |
Recent industry coverage describes 3D body scanning as a rapidly expanding measurement approach and notes that extraction software can produce hundreds of anatomical measurements within seconds, as reported in Market.us coverage of custom-made clothing. That doesn't make manual measuring obsolete. It means the best method depends on the shopper, the garment, and the purchase context.
Robosize is one example of a smart sizing workflow. It uses a short questionnaire and an optional selfie to create a shopper-specific body model, then provides a garment-level size recommendation and photorealistic try-on. Retailers can also compare this approach with the practical considerations in a height and weight clothing size calculator, especially when a static chart leaves too much room for interpretation.
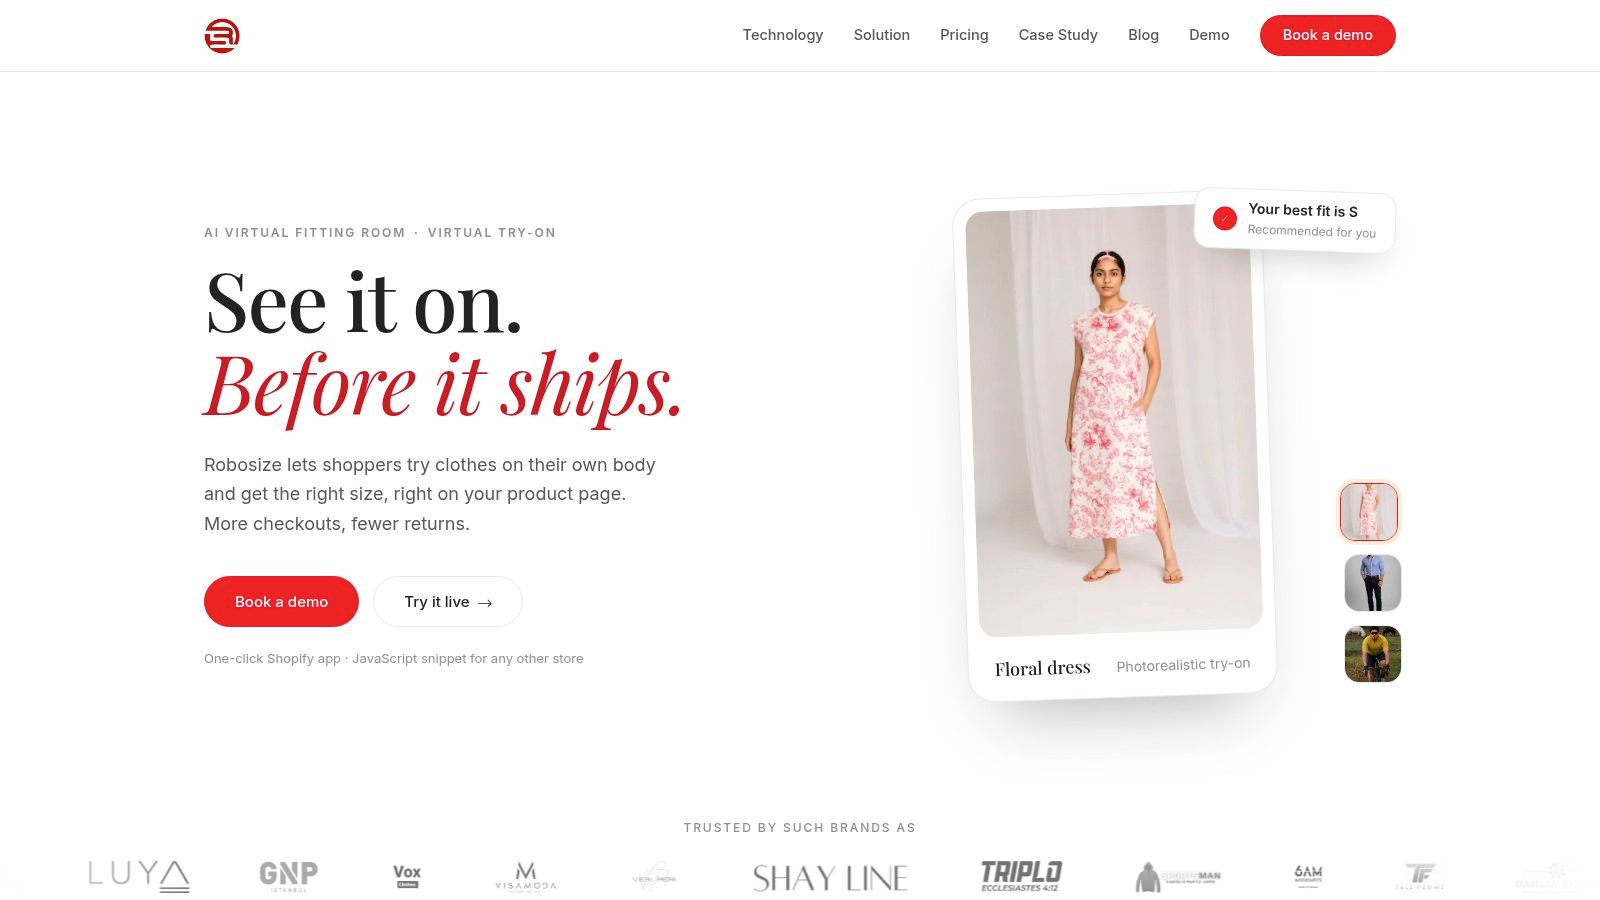
The important trade-off is not manual versus automated in the abstract. It's whether the method translates body information into a decision that reflects the actual product. A precise number still needs garment-specific logic, including cut, fabric behavior, construction, and intended ease.
Putting It All Together for Confident Purchases
Good fit starts with reliable inputs, but it ends with interpretation. Prepare the session carefully, measure chest, waist, and hips at the correct landmarks, add inseam or sleeve length when the garment demands it, and repeat any reading that looks uncertain.
For shoppers who want less manual work, mobile approaches can provide another route. Explore how mobile body scans can support phone-based sizing decisions, while still checking product measurements and fit notes before ordering.
The practical rule is simple: measure for the garment, not just for your body. A tape measure gives you a useful foundation, and smart sizing tools can help connect that foundation to a particular product and size choice.
Robosize combines a short shopper questionnaire, optional selfie-based body modeling, virtual try-on, and garment-specific size recommendations for online apparel stores. If you want to reduce guesswork between body measurements and product fit, visit Robosize to explore the platform.